
A lead magnet creation workflow is the sequence that takes a rough brief and turns it into a reviewed draft. The workflow matters more than the template. A good template cannot rescue a vague brief, and a clear workflow can make a plain template useful.
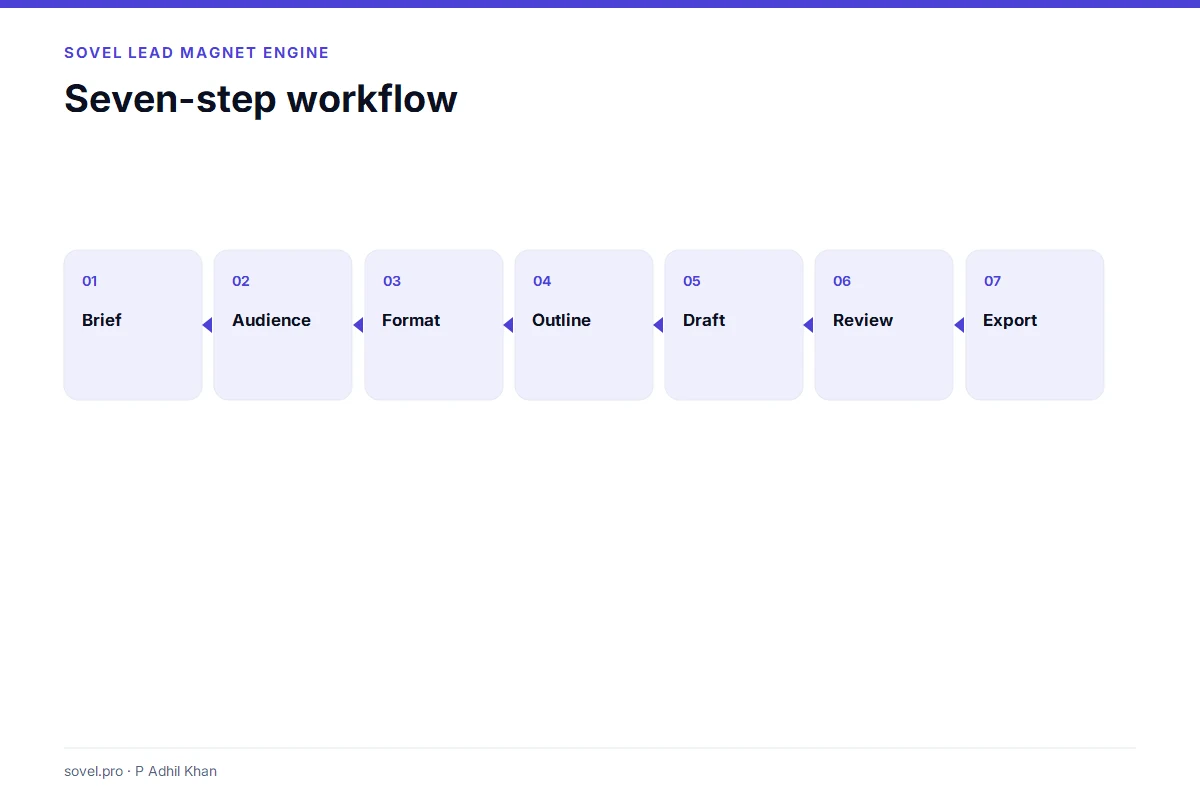
This guide gives you a seven-step process you can run by hand or inside an engine. It covers the brief, the reader, the format, the outline, the draft, the review and the export. It also names the mistakes that make a lead magnet feel generic.
The short answer: write one reader, one problem and one promise. Pick the format that fits what the reader must do. Draft in sections with a fixed anatomy. Review the claims, the structure and the handoff. Export more than one file.
Step 1: Write a brief that can survive the workflow
A lead magnet creation workflow starts with a brief, not a title. The brief should fit on one screen. It needs five fields: reader, problem, promise, proof and next step.
The reader is one person, not a demographic. “A SaaS founder preparing for a security review” is a reader. “SMBs” is a category. The narrower reader gives the draft a point of view.
The problem is the thing the reader is trying to avoid or fix. “The onboarding checklist misses the security step” is a problem. “Onboarding is important” is a topic.
The promise is the change the lead magnet delivers. “You will have a seven-point onboarding audit you can run this week” is a promise. “Learn everything about onboarding” is a wish.
The proof is the evidence you can bring. A benchmark, a client example, a documented process or a named source. If you have no proof, say so. The draft can still be useful, but it should not pretend to be data-backed.
The next step is the action after the reader finishes. Book a call, reply with an answer, run the checklist or download the next asset. A lead magnet without a next step is a document, not a funnel asset.
Step 2: Define the reader and the moment
The second step in the lead magnet creation workflow is the moment. When will the reader use this? During a security review, before a launch, after a failed audit, at the start of a quarter.
The moment decides the length. A reader in the middle of an incident needs a one-page checklist. A reader planning a quarter can handle a framework or a mini course.
The moment also decides the tone. A reader under pressure wants short sentences and a clear next action. A reader in learning mode can handle more explanation.
A useful exercise is to write the reader’s sentence: “I am trying to ___ before ___ and I am stuck on ___.” Fill the three blanks. If you cannot, the brief is not ready.
The lead magnet creation workflow should not move to the format step until the sentence is clear. A format chosen before the moment is a guess.

Step 3: Choose a format that matches the job
The third step is the format. The format is the reader’s job, not the designer’s preference.
- A checklist fits a quick operational win.
- A framework fits a method the reader needs to understand.
- A case study fits proof.
- An audit scorecard fits diagnosis.
- A mini course fits a habit that takes practice.
- A tool template fits a reusable asset.
- A hack list fits a set of small improvements.
- A system blueprint fits a full workflow.
- A prompt tool fits reusable AI instructions.
A lead magnet creation workflow that starts with “let’s make an ebook” often produces a long document with no job. A workflow that starts with the reader’s job produces a format that earns its length.
The format also sets the section count. A checklist usually has five sections. A mini course can have fifteen. The count is a promise to the reader. Do not pad a checklist to fifteen sections because the page looks thin.

Step 4: Build an outline with one job per section
The fourth step is the outline. Each section needs one job. If two sections teach the same thing, merge them. If a section has no job, delete it.
A useful section has six parts:
- A headline that names the check or idea.
- An opener that states the problem.
- A mechanism that explains why it matters.
- A framework that shows how to do it.
- An example that makes it concrete.
- A closing rule that tells the reader when the section is done.
This anatomy is the backbone of a lead magnet creation workflow. It keeps the draft consistent and makes review faster. A reviewer can compare section two with section five because they follow the same shape.
The outline should also name the evidence for each section. If a section makes a claim, write the source next to it. If there is no source, mark it for review. The evidence map is part of the outline, not an afterthought.
Step 5: Draft the sections, not the whole document
The fifth step is the draft. Write one section at a time. Do not write the intro first. The intro is easier after the sections exist because you know what the reader will learn.
A lead magnet creation workflow should separate drafting from editing. The draft gets the structure down. The edit improves the sentences. Mixing the two slows both.
Write the headline as a promise. “Check 3: Name the owner before the handoff” is stronger than “Ownership.” Write the opener as the problem. “A checklist without an owner dies after the first week” is stronger than “Ownership is important.”
Keep paragraphs short. Two to four lines. Use examples with names, numbers or a concrete scene. A generic example teaches nothing.
The draft should include the call to action and the closing. A lead magnet that ends with “conclusion” and no next step wastes the reader’s attention.

Step 6: Review the claims, the structure and the tone
The sixth step is the review. A lead magnet creation workflow needs a review gate, not a proofread.
Review the claims first. Every number, name, date and comparison needs a source or a label. If a claim is an inference, say so. If it is unverified, say so. A draft that hides uncertainty is harder to trust.
Review the structure second. Does each section have one job? Does the order make sense? Does the opening answer the reader’s question? Does the ending tell the reader what to do next?
Review the tone third. Cut hype. Remove sentences that could open any article on the topic. Replace vague claims with specific details. Read the draft aloud. If a sentence trips you, rewrite it.
The review gate should also check the handoff. Are the images present? Is the alt text useful? Do the links resolve? Is the DOC editable? Is the PDF readable on a phone?
A lead magnet creation workflow that skips the review produces a draft that looks finished and fails in the client’s hands.

Step 7: Export the package, not just the PDF
The seventh step is the export. A lead magnet creation workflow should produce a package that supports the next handoff.
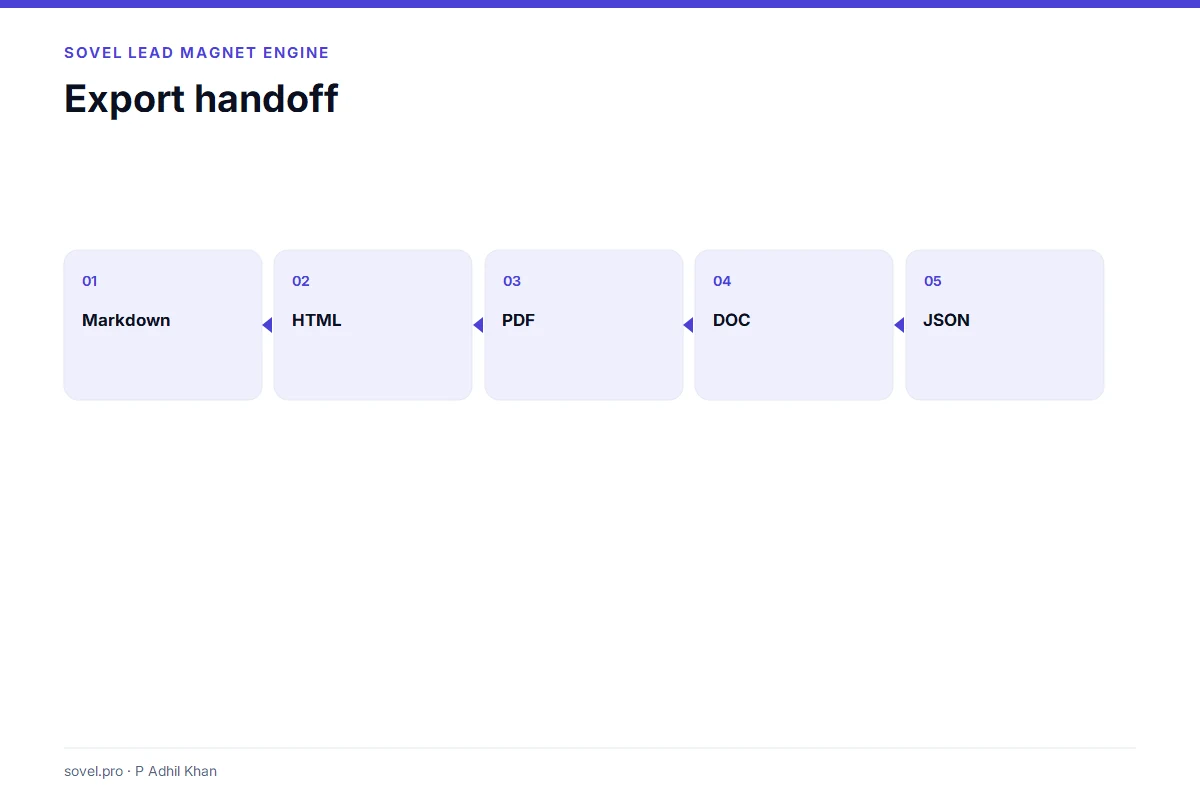
- Markdown for the content system.
- HTML for a browser read.
- PDF for the reader.
- DOC for the editor.
- JSON for audit and automation.
- A manifest for file integrity.
- An evidence ledger for review.
A single PDF is easy to share and hard to edit. A package gives the client, the designer and the developer what they need without a second rewrite.
The export should also include a summary. A one-page summary helps the account lead explain the asset without reading the whole draft. It also helps the client approve the direction before the design work starts.
The lead magnet creation workflow ends when the package is handed off, not when the draft is finished. The handoff is part of the product.
What does a lead magnet creation workflow look like for an agency?
An agency runs the same seven steps with more handoffs. The account lead writes the brief. The strategist chooses the format. The writer drafts. The editor reviews. The designer lays out the PDF. The account lead sends it to the client.
A lead magnet creation workflow for an agency needs a named owner at each step. Without an owner, the draft sits in a folder and nobody knows whether it is ready. The workflow should record the status: new, drafting, review, client review, approved.
The brief should include the client’s approved claims. An agency that lets the writer invent claims creates a review problem later. The brief should also include the client’s banned phrases, brand terms and required disclosures.
The review should happen before the design. A designer who receives an unapproved draft wastes time on a layout that will change. A lead magnet creation workflow should lock the copy before the visual pass.
The handoff should include the editable DOC, the PDF, the ledger and the review record. The client may not read the ledger, but the agency needs it when a claim is questioned. The record protects the agency and the client.
An agency can run the workflow by hand. An engine makes the draft and the checks faster. The workflow is still the agency’s process. The tool does not replace the account lead or the editor.
Common mistakes in a lead magnet creation workflow
The first mistake is starting with a template. The template decides the shape before the reader is defined. The second mistake is writing the intro first. The intro becomes a summary of what you plan to say, not what the reader needs.
The third mistake is padding the section count. A five-section checklist with specific checks beats a fifteen-section course with filler. The fourth mistake is skipping the evidence map. The draft looks confident and falls apart in review.
The fifth mistake is treating the PDF as the only output. The client cannot edit it, the designer cannot reuse it and the developer cannot import it. The sixth mistake is skipping the review. A draft is not a deliverable until someone checks it.
The seventh mistake is ignoring the next step. A lead magnet that does not lead anywhere is a dead end. The call to action is part of the workflow.
How do you measure whether the workflow worked?
Measure the review time, not the word count. A draft that takes two hours to review is worse than a draft that takes thirty minutes, even if both have the same length.
Measure the number of claims that need a source. If the draft arrives with ten unlabelled claims, the workflow skipped the evidence step. If it arrives with a ledger and three flagged claims, the review can start.
Measure the number of handoffs. A package that the client, the designer and the developer can use without a rewrite is a better deliverable than a PDF that has to be rebuilt.
Measure the next step. A lead magnet that produces replies, calls or checklist completions is doing its job. A lead magnet that produces downloads and silence is a document, not a funnel asset.
Those four measures are more useful than a subjective “this feels good” review. They tell you where the workflow needs work.
What is the smallest useful workflow?
One reader, one checklist, five sections and one review pass. That is enough to test the sequence without building a full course.
The workflow is not a guarantee. It is a sequence that makes the common failures visible before the client sees them.
The sequence is the product.
For the search-side checklist, see Google Search Central and the Rank Math knowledge base.
Frequently asked questions
What is a lead magnet creation workflow?
A lead magnet creation workflow is the sequence from brief to reviewed draft and export. It covers the reader, the problem, the format, the outline, the draft, the review and the handoff.
How long should a lead magnet creation workflow take?
A short checklist can take an afternoon. A framework or mini course can take several days. The workflow time depends on the research and the review, not just the writing.
Do I need a lead magnet creation workflow for one asset?
A workflow helps even for one asset because it prevents the common failures: vague brief, wrong format, repeated sections and a weak handoff. The process is the quality control.
What comes first in a lead magnet creation workflow?
The brief. Write one reader, one problem, one promise, one proof point and one next step. The title and the design come later.
How many sections should a lead magnet have?
It depends on the format. A checklist usually has five sections. A mini course can have fifteen. The section count should match the reader’s job, not a page-length target.
Does a lead magnet creation workflow need AI?
No. The workflow can run by hand. An engine can speed up the draft and the checks, but the brief and the review are still human work.
What should I export at the end?
Export Markdown, HTML, PDF, DOC, JSON, a manifest and an evidence ledger. The package supports editing, review, sharing and audit.
How do I know the workflow worked?
The draft is specific, the sections are distinct, the claims are labelled and the client can edit the file. If those four things are true, the workflow did its job.
The workflow in one page
Write the brief. Define the moment. Choose the format. Build one job per section. Draft in sections. Review the claims, structure, tone and handoff. Export the package.
That is the whole lead magnet creation workflow. The tools can change. The sequence does not. A team that follows the sequence produces a draft that is easier to review and easier to deliver.
Run the sequence on one small asset before you change the team process. The SOVEL Lead Magnet Engine page shows the working version. For the format comparison, read the nine lead magnet formats. For the review gate, read the lead magnet quality checklist. For client delivery, read lead magnet software for consultants.